🎯How to Show POP on Specific Pages
Sales POP is a powerful tool for boosting conversions by showcasing real time customer activity. But sometimes, less is more especially when you want to control where your POPs appear or to control your budget of sessions. This guide will walk you through the steps to customize your display settings with precision.
To control where your POPs appear, follow these steps:
-
Log in to your Sales POP dashboard.
-
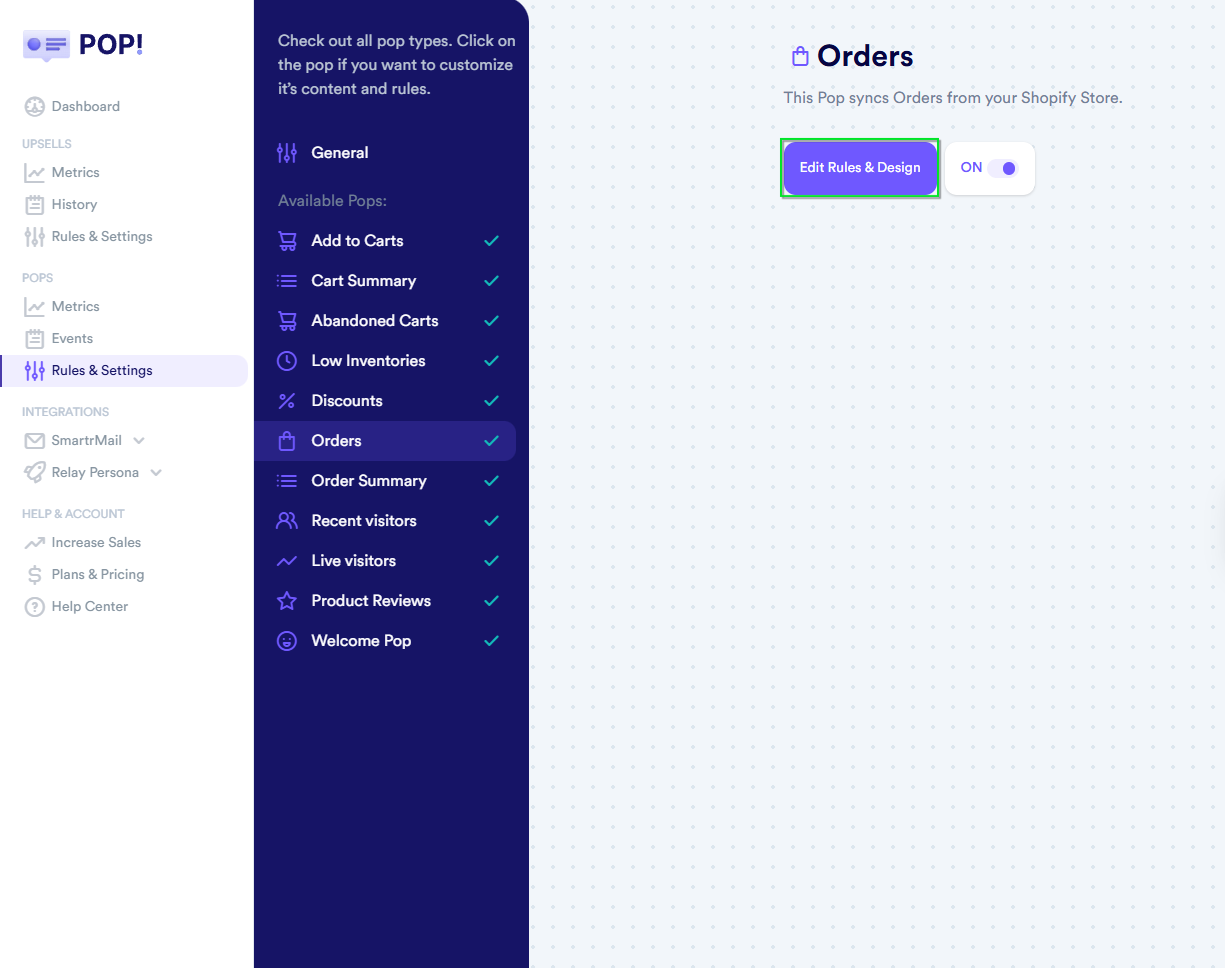
Navigate to the POPS tab.
-
Click on Rules & Settings.
-
Find the POP you want to customize select it and click Edit Rules & Design.
- On the left-hand side, click the Pages tab.


🔍 Choose Your Display Logic: Include vs. Exclude
Inside the Pages tab, you’ll see two options:

✅ Include
- Use this if you want the POP to appear only on specific pages.
- Add the URL path (not the full URL). For example, if your page is
www.mystore.myshopify.com/productA, just enterproductA. -
Click the plus (+) button to add it to the list.
🚫 Exclude
- Use this if you want the POP to appear on all pages except a few.
-
Again, enter only the path (e.g.,
productA) and click the plus (+) button.
You’ll see a list of added paths below the input box for easy reference.
💾 Don’t Forget to Save!
Once you’ve added your paths, click Save to apply your changes. If you leave without saving, your settings won’t be updated.

💬 Need Help?
If you have any questions or run into issues, feel free to reach out to our Sales POP support team and schedule a 1on1 video-meeting. We’re here to help!